Products
Tire Component Inspection

Full Line of Bead Inspection Systems
Ensuring the quality of each component in the tire manufacturing process is critical to the performance and safety of each tire produced. Traditionally tire component inspection has been a manual process relying on operators to make the determination if the component meets quality standards which can be time consuming and highly variable.
In our continued efforts to provide innovative solutions Bartell has created a full line of bead inspection systems. From mechanical measurement to advanced non-contact imaging our technologies provide the most accurate measurements available and include capabilities such as networking and data storage to provide easy statistical quality analysis and documentation.
Inspection Systems

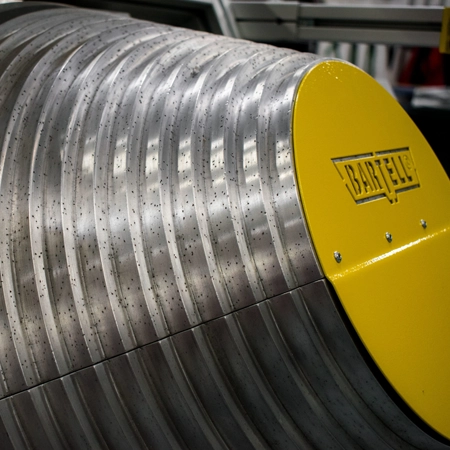
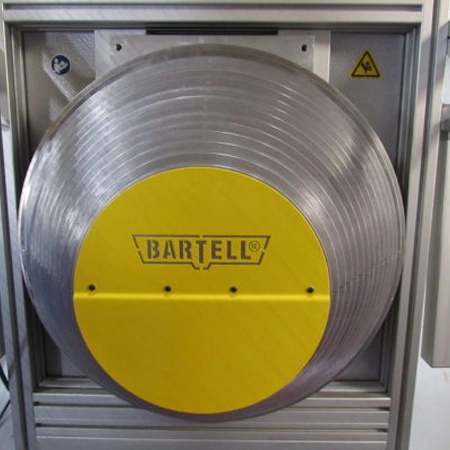
The Bartell BMM is a high-production test machine used to determine the inside diameters of tire beads ranging from 12″ to 24″ in diameter.

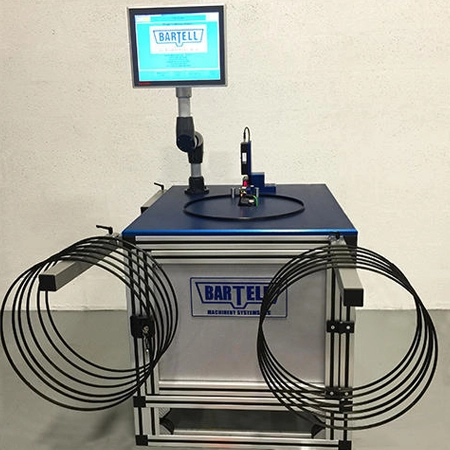
The Bartell Bead Evaluation Station is a compact and versatile measurement station for bead profile height, width and weight.
Financing Available!
See all the ways we can help your business grow for generations to come. Visit our Financing section to see all of our latest programs.
